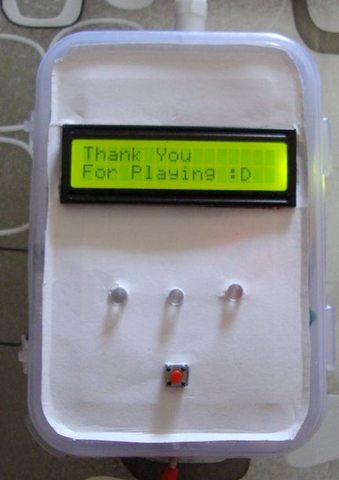
Either for scientific curiosity or just some fun between friends, the following reaction timer project is a simple an interesting thing you can make in a few hours. Brought to us by Instructables member Saiyam the device gives each player in turn a countdown then sounds a buzzer and displays a confirmation to press the button.
The timer records the reaction time for each user and displays the winner for each round. There is a lot of leeway available in that you can use any Arduino or compatible board, a matching LCD with a few buttons and a buzzer so you could even make this with parts you already have.
This could be expanded with some larger external buttons for a more physical reponse for each user, however to get started with the orginal visit the timer's Instructable page. And for more, we're on facebook, Google+, and twitter - so follow us for news and product updates as well.
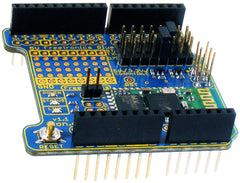
Looking for a rapid-use LCD for your Arduino or compatible development boards such as the example above? Save time and move forward with the Freetronics LCD & Keypad shield which contains a bright 16x2 character LCD and five buttons that can be read from only one analogue input pin: