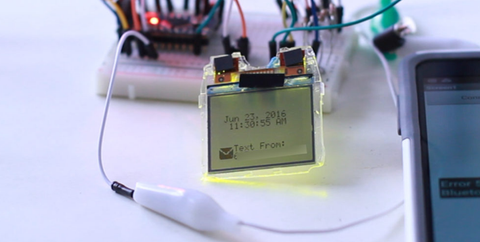
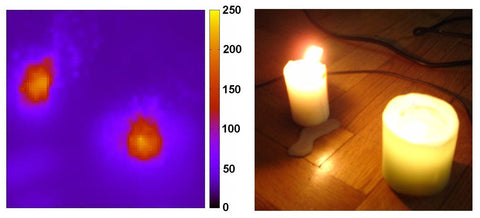
Are you fascinated by the idea of thermal imaging? Well I bet you didn’t realise that you can make your very own thermal imaging camera using Arduino! With this awesome project from stoppi71, using an Arduino, some servos and a thermal sensor you can be producing awesome thermal images in no time.

This is quite an advanced project but if you are willing to put in the effort you will be rewarded with a whole heap of new skills and a working thermal imaging camera. Worth it in our opinion!
To get started on this fantastic project check out the instructable!
If you are looking for an Arduino board to control your thermal imaging camera why not check out the Freetronics “Eleven” Arduino Compatible Board.
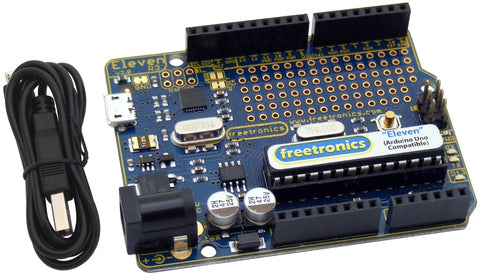
The Eleven is just like an Arduino Uno (and 100% compatible), however the Freetronics team have made a number of improvements to the Arduino Uno design such as adding in a prototyping area, using a micro-USB connector and many more. These improvements mean that the Eleven is as easy to use as possible and is of the highest quality! To find out more about the fantastic Freetronics Eleven check out the following link. The Eleven has just come back into stock so order soon to avoid missing out!
Enjoyed learning about Arduino powered thermal imaging? Working on a project you would like us to feature on this blog? Let us know in the comments section below or on Facebook and Twitter.